

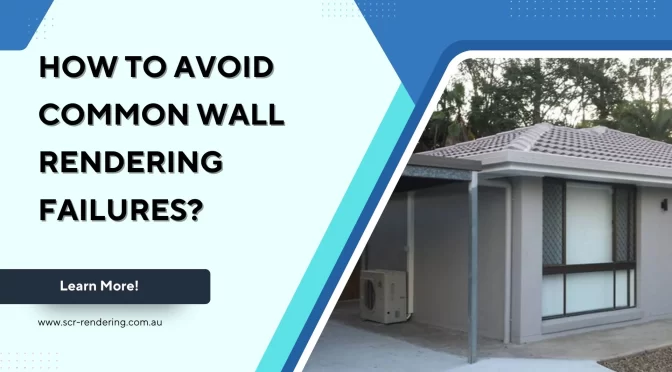
Wall rendering is an essential step in achieving smooth, durable, and visually appealing walls both indoors and outdoors. Whether you’re dealing with interior rendering or exterior rendering, mistakes during the process can lead to costly repairs, poor finishes, and structural issues. In this blog, we’ll explore common wall rendering failures and offer expert tips on how to avoid them, ensuring your walls look flawless and stand the test of time.
-
Poor Surface Preparation: The Root of Many Rendering Problems
One of the most frequent causes of rendering failure is inadequate surface preparation. Before applying any render, the wall surface must be clean, free of dust, grease, or loose materials. Without this, the render will struggle to adhere properly, leading to cracks or peeling.
Tip: Always clean and dampen the surface before rendering, and repair any holes or uneven patches.
-
Using the Wrong Mix for Interior and Exterior Rendering
Mixing errors can cause weak render or uneven textures. For exterior rendering, the mix needs to be more robust to withstand weather elements, while interior rendering requires a finer finish for aesthetics.
Tip: Use the correct cement-to-sand ratio as recommended for your specific project and environment. For exterior walls, adding waterproofing agents can enhance durability.
-
Applying Render Too Thick or Too Thin
Applying render in uneven thickness is a common mistake. Too thick, and it can lead to shrinkage cracks; too thin, and it won’t cover imperfections or protect the surface properly.
Tip: Apply render in even, controlled layers and follow manufacturer guidelines on thickness.
-
Ignoring Curing and Drying Times
Rendering needs time to cure and dry properly. Rushing this process or exposing fresh render to harsh sunlight, rain, or wind can cause cracks and poor adhesion.
Tip: Keep rendered walls moist by misting water during curing and protect from direct sunlight or rain for at least a week.
-
Poor Weather Conditions During Application
Extreme temperatures or weather conditions can significantly affect the rendering outcome. Cold weather can slow curing, while hot weather can dry the render too quickly.
Tip: Plan your rendering work during mild weather and avoid application during rain or intense heat.
-
Failure to Use Quality Materials and Tools
Using substandard cement, sand, or water can compromise render strength and finish. Similarly, poor tools can lead to uneven application and rough textures.
Tip: Invest in high-quality materials and professional tools for both interior and exterior rendering jobs.
-
Not Considering Wall Movement and Expansion
Walls expand and contract with temperature changes, causing stress on the render layer. Without proper joints or flexible additives, cracks are inevitable.
Tip: Use control joints in large walls and consider additives that improve flexibility.
Understanding common pitfalls in interior rendering and exterior rendering can save you time, money, and frustration.
FAQs About Wall Rendering Failures
-
What causes cracks in wall rendering?
Cracks are usually due to poor surface preparation, incorrect mix, or rapid drying.
-
How long should the render cure before painting?
Generally, wait at least 7 to 14 days for proper curing.
-
Can I render over old paint?
It’s best to remove old paint for better adhesion.
-
What’s the difference between interior rendering and exterior rendering?
Interior rendering focuses on smooth finishes, while exterior rendering requires weather-resistant materials.
-
How thick should the render be?
Typically, 10 to 15mm in two coats, but it depends on the project.
-
Is it necessary to waterproof render on exterior walls?
Yes, waterproofing improves durability against weather damage.
-
Why is my render peeling off?
Often due to poor surface preparation or moisture issues.
-
Can I DIY my wall rendering?
It’s possible, but hiring professionals reduces the risks of failure.
-
What additives improve render strength?
Plasticisers and waterproofing agents are common additives.
-
How often does exterior rendering need maintenance?
Every 5 to 10 years, depending on exposure and quality.
Proper preparation, the right mix, and attention to curing are essential steps for a flawless finish. Whether you’re renovating or building new walls, avoid the mistakes to ensure long-lasting, beautiful walls. And if you want to get the best possible results, then hiring the experts of SCR Rendering Brisbane is a smart decision. We have the experience, skills, knowledge, and right set of tools that are needed to offer exceptional results. Feel free to call or send an email for further queries.